We are excited to introduce integration with 3CX platform. Now you can send SMS and MMS text messages with 3CX using our services. This article explains the steps you will take to connect 3CX to our platform.
April 26, 2023 | 2 min read
share:
here are the steps
1. Login to your 3CX online account.
2. Click Admin and select voice and chat.
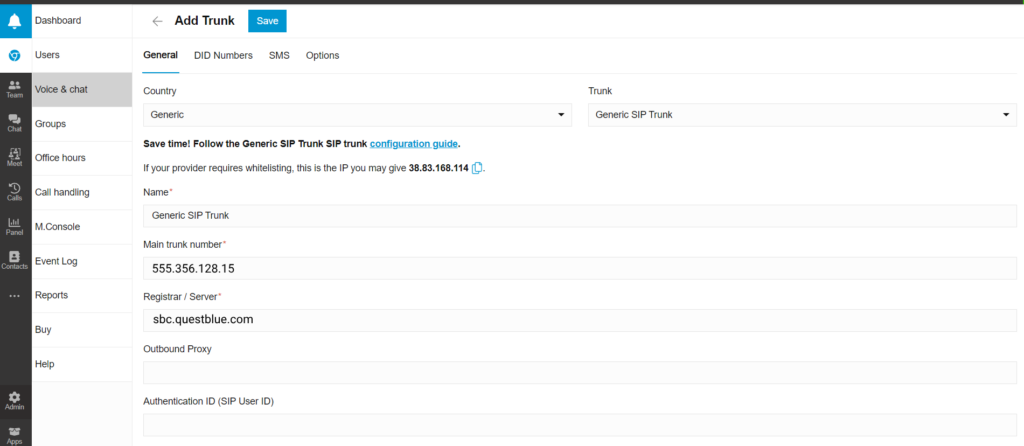
3. Click Add Trunk button.
4. Under the General Tab, type in Generic in the Country field and Generic SIP Trunk in the Trunk menu.
5. Enter the Main trunk number and Registrar / Server number and click save.
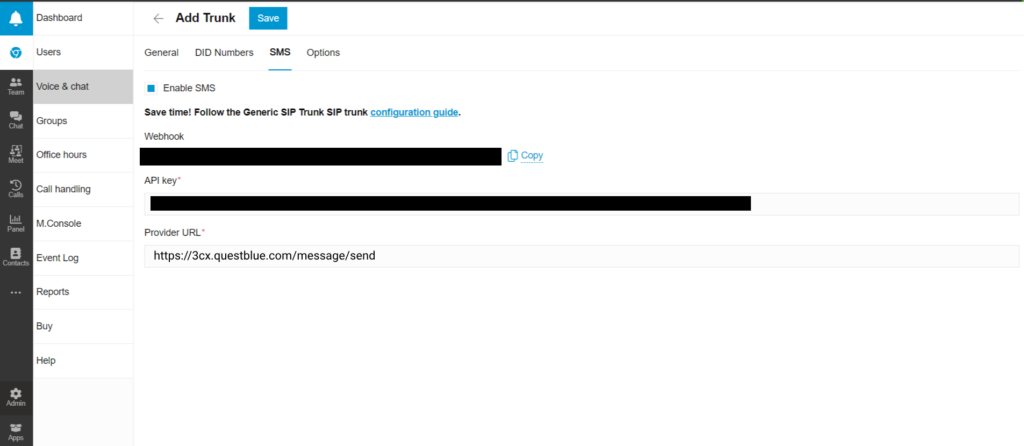
6. Go to SMS tab and copy the webhook URL to the clipboard.
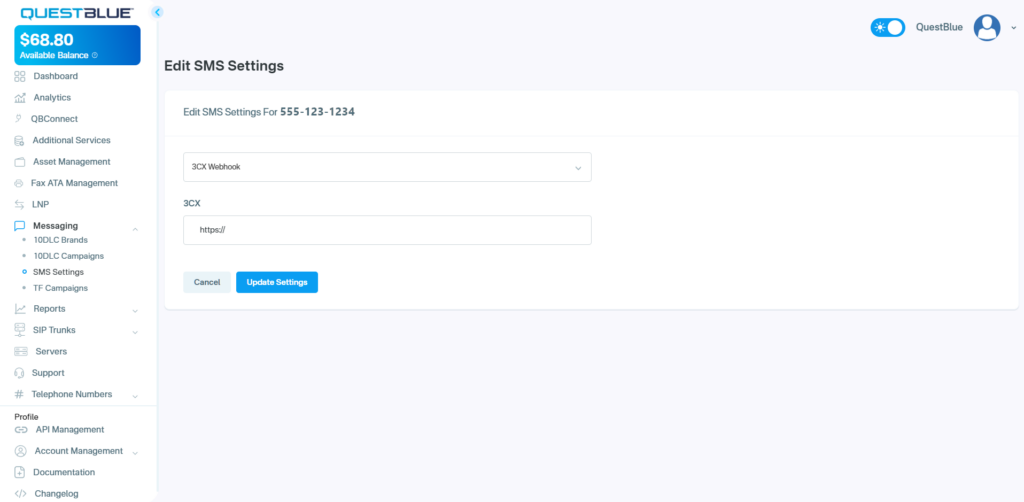
7. Login to your QuestBlue online account.
8. Click Messaging select SMS Settings.
9. Choose DID and click edit. A new window will pop up.
10. Select 3CX Webhook in the dropdown menu and paste your 3CX URL you copied in the previous step.
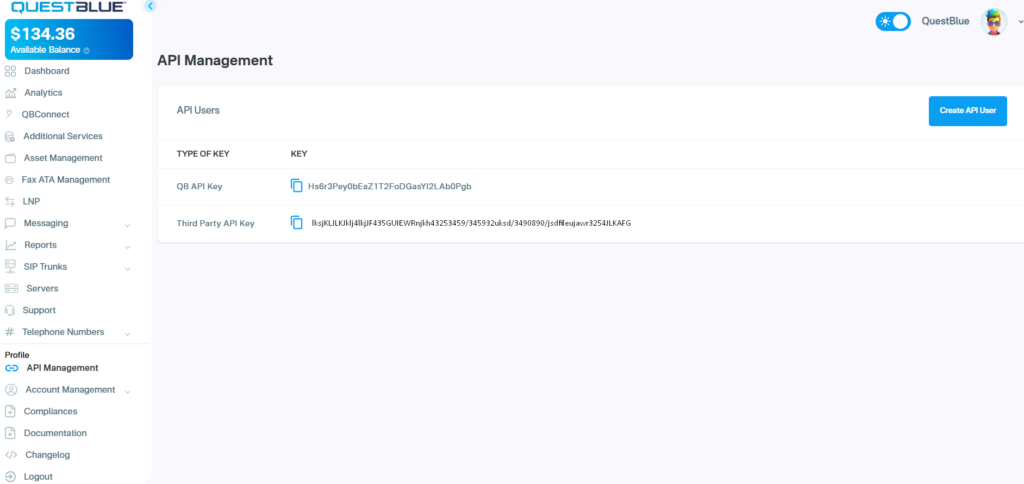
11. Go to API Management / Manage API Access and copy third party API Key.
12. Return to your 3CX account and click Admin, click Voice & chat, and click SMS.
Enter the API key and “https://3cx.questblue.com/message/send” in the Provider URL field. Click save.
You are all done! To send SMS/MMS messages, go to chat, select the phone number, and start texting.
Conclusion
Integrating QuestBlue with 3CX offers streamlined communication and enhanced productivity. By following the steps provided, you can seamlessly connect the two platforms for advanced telephony features and improved efficiency. This integration empowers businesses of all sizes to provide better service and stay competitive in today’s market.